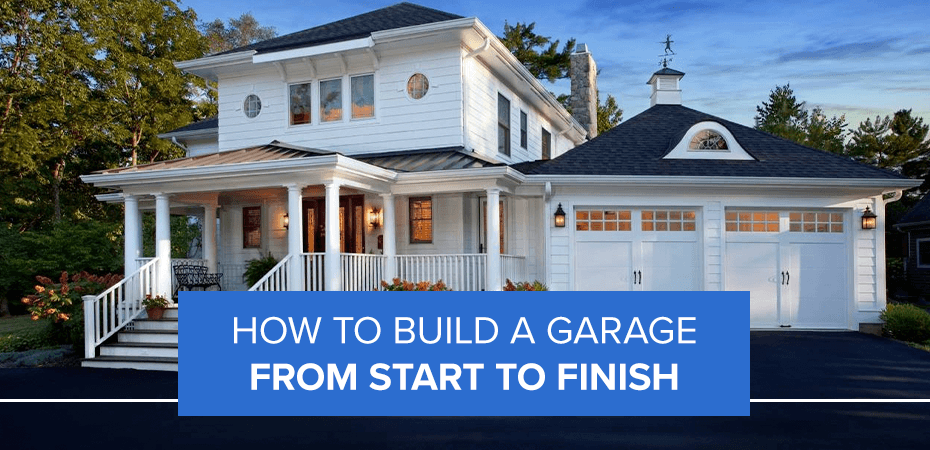
If you have been thinking about building a garage from start to finish, you’re not alone. San Diego homeowners often accomplish this project on their own or with the help of professionals at various stages. Either way, taking on the construction, even partially, can save you money while maintaining your preferred quality and aesthetics.
We understand that building a garage from the ground up is a demanding task. However, with careful planning and guidance, you can accomplish your objective and love the outcome.
Table of Contents
How to Build a Garage: Project Overview
If you’re not hiring a full-service contractor for your project, you’re considered the general contractor. However, you can also work with experts for various parts of the project. Here are things to get out of the way in preparation for construction.
Determine Purpose and Size
Before you get started, think about the purpose of your garage, as it will help you determine the project’s scope. Is it simply for parking, or does it serve another function, such as a workshop, storage or office? Today, garages often serve multiple functions, sometimes even doubling as additional living spaces.
Check Local Regulations
With your unique garage idea in mind, decide on dimensions. Research your local zoning laws and building codes since these laws can dictate where you build the garage, its dimensions and its appearance. You’ll also need the necessary permits, so visit your local zoning office for further directions.
Create a Budget
You need to estimate the cost of your project to know where you stand. The cost of building a garage varies based on garage style, location, size and required materials. For a good estimate, break down the cost as follows:
- Materials: Get a detailed bill of materials (BOM) from a contractor to know the exact materials you need and their cost.
- Paperwork: These are fees that come with permits and inspections.
- Workforce: Determine the cost of labor, skilled or unskilled.
- Additional expenses: These may include the cost of wiring, plumbing and insulation.
Designing Your Garage
Determine the type of garage you need, which can be attached or detached. You already have your preferred size, which gives you single-car, double-car or three-car dimensions. While you can draw the dimensions yourself, you’ll need a qualified professional, like an architect, to review and prepare detailed plans that comply with San Diego County’s regulations and your local HOA stipulations. You must submit these for approval before you get a green light for construction.

How to Build a Garage Step-by-Step
Here is a step-by-step process for building a garage:
1. Preparing the Area
Prepare the location of your garage, whether that is the side of your main house for an attached garage or elsewhere on the property for a detached or freestanding garage. You want to clear the obstacles and debris and determine how deep the top organic soil goes, as that will impact the type of foundation you use. Regular soil won’t need much digging. With spongy ground, however, you’ll either dig deeper or use a stronger foundation method.
2. Laying the Foundation
In general, garages only need shallow foundation types like strip and raft because they are light structures. Here’s how to lay the foundation:
- Dig out the topsoil.
- Compact and level the ground.
- Fill the space with suitable gravel.
- Erect concrete forms.
- Install metal rebar for reinforcement.
- Pour concrete while embedding anchors for the sill plate.
Building the foundation is one of those tasks you may want to subcontract if you lack the experience because it’s the backbone of the structure, and you don’t want to risk mistakes. Usually, the foundation will require inspection to ensure compliance before the next steps.
3. Framing the Structure
Frame your garage using studs and sill plates. The bottom and top plates are made of treated two-by-four lumber and supported by studs at a 16- or 24-inch spacing pattern. At this stage, space and cut studs to create window and door openings. For the headers supporting the top of your window and garage door openings, use laminated veneer lumber (LVL) or two-by-10 lumber.
4. Installing the Roof
Install trusses over your frame. You can build them yourself or order prefab ones to make the process easier. Spread roof decking and membrane to prepare the roof for your preferred roofing material, such as metal sheets, asphalt or metal shingles, or clay tiles.
5. Adding Exterior Finishing
Once the roofing is complete, it’s time to raise the walls. Building a garage wall on the exterior is fast and easy as all it needs is fastening panels of oriented strand board (OSB) to the wall’s frame. Add your preferred house wrap material for weatherproofing and cover the sheathing with a siding material of your choice.
6. Adding Interior Finishing
Interior finishing often involves insulating, electrical wiring and plumbing. These are necessary if you want the space to serve more functions besides parking vehicles. You’ll need electrical connections for the lighting and proper insulation to maintain a steady temperature. Plumbing is optional, depending on whether you want to use water in the garage. With all your connections complete, install the drywall and finish the floor.
7. Adding Doors and Windows
Attach garage windows and doors to their openings. For attached garages, you’ll need to install an inner door that connects the garage with the main house, which is different from the main residential garage door. With an instruction guide, window installations are straightforward, unlike the garage door. This is a phase you may want to leave to professionals, considering the potential harm associated with garage doors.
How to Install a Prefab Garage
There is a different type of detached garage called prefabricated garage, which simply means the garage is prebuilt by the manufacturer and arrives in one or more pieces for installation. With a prefab garage, you only order the structure, providing your specific requirements, and the provider delivers it ready for assembly and use.
Prefab garage installation begins right after the foundation and involves these steps:
- Delivery: A single-car garage arrives as a complete structure. However, garages for multiple vehicles generally come in several prebuilt sections.
- Assembly: Technicians erect and secure the different sections, such as walls, roof and doors, on top of the foundation.
- Finishing: Finishing touches are similar to those of a garage built from scratch, including insulation, plumbing and wiring.
Explore Garage Door Solutions With Easy Open Door
If you’re considering building a garage from the ground up in San Diego, determine the project specifications that will influence the budget, design and paperwork. You can do everything yourself or work with construction experts for different parts of the project. For example, garage doors require professional installation to ensure safety and efficiency.
At Easy Open Door, we provide a selection of high-quality garage doors to match the design of your newly constructed garage. We offer comprehensive services, from new garage door sales and installations to maintenance throughout San Diego County. Request a free estimate for your new garage door!